Ubitx - my experience with frequency issues
(And how I solved them.)
In this article I am going to describe which frequency issues I experienced with my Ubitx V3 board and how I solved it.
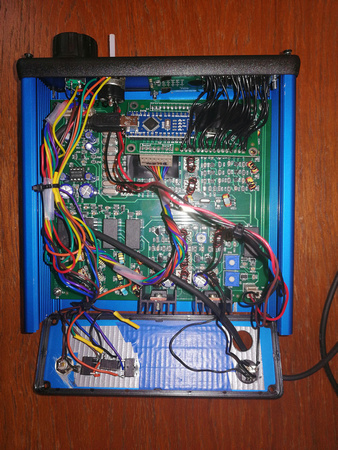
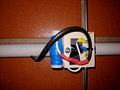
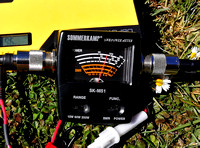
My Ubitx V3 in the making...
Disclaimer: I am really no electronics-expert. Everything you do based on the info provided here you do at your own risk, with no warranty whatsoever. Only do it if you know what you are doing, there might be errors in my assumptions and descriptions which might harm you, others around you or your devices. Don't do it if you are not a licensed ham radio operator.
Preface
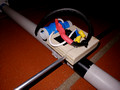
I am using a Ubitx board V3. The Ubitx is only slightly modified:
- I am using KD8CEC firmware version. Download here, description here.
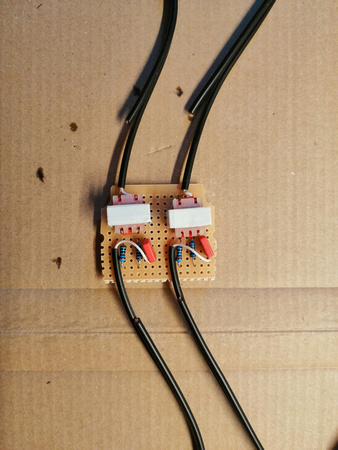
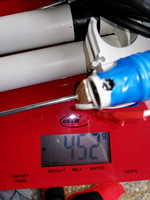
- The relays where replaced as suggested here.
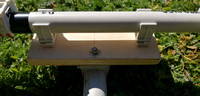
- The display was taken off from its socket and prolonged with short pieces of wire in order to fit into my case.
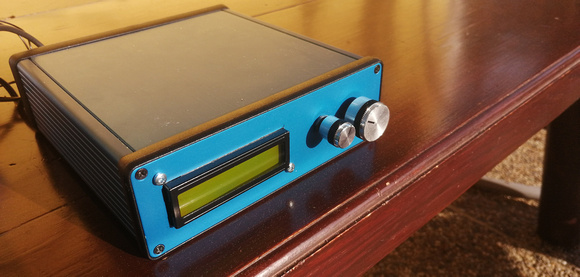
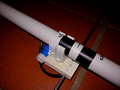
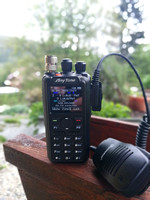
My Ubitx, fitted in many hours into this lim case
Initial observation
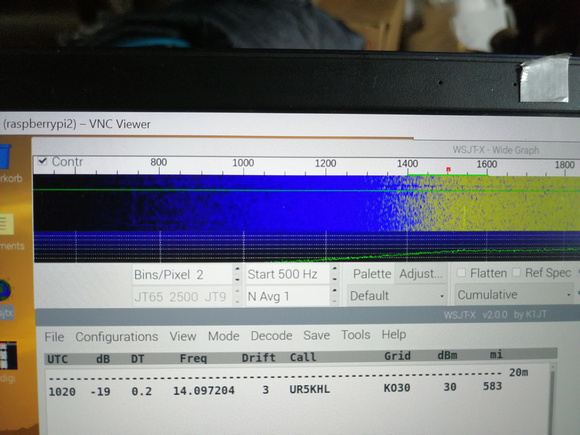
The first time I noticed something might be wrong was when I tried to receive WSPR signals on 40 meters. I could not decode any signals. Looking at the waterfall it looked like the tone signals received are shifted to the right in the waterfall diagram, respectively too high in frequency:
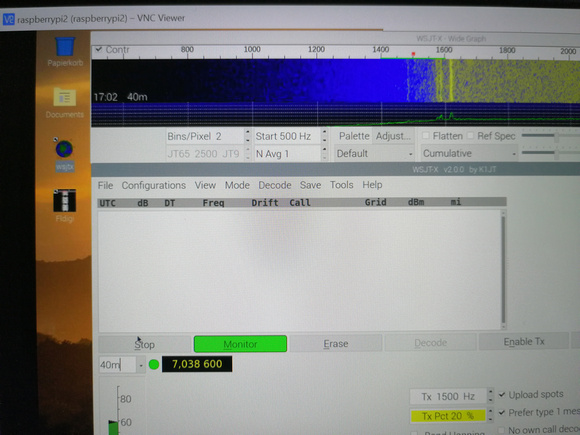
Tone signals are shifted by around +100 HZ
They should look like this actually:
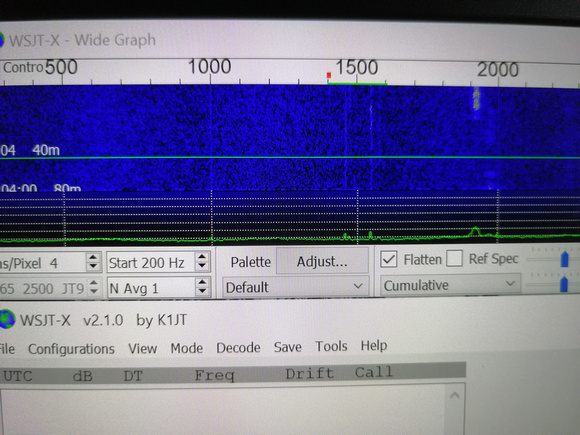
WSPR signals received with correct tone frequency (on another transceiver)
I then checked in "real-time" with a friend and compared FT8 CQ signals he received with the exact same signals I received and we found the same pattern: the frequency of the FT8 tone signals where all shifted to the right in the waterfall, or too high with other words by a few 10 to 100 Hertz, depending on the band.
The assumption had to be that there are some issues with the frequency but I needed to do some real testing.
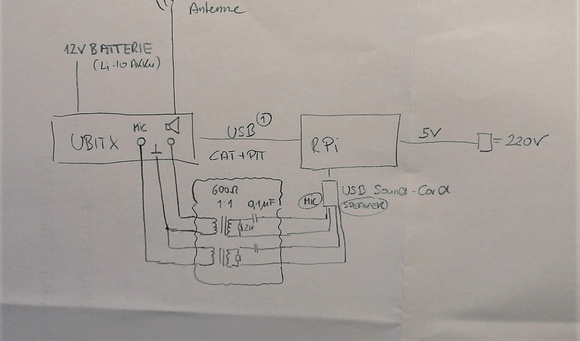
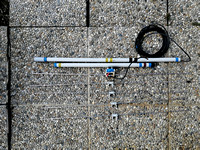
Test setup
Description of my test setup:
- Power source for the UBITX was a modified ATX power supply for test run 1 and 2 and a Batterie for test run 3 in order to exclude issues coming from the modified ATX power supply.
- For the test I did transmit FT8 CQ-calls using WSJT-X on a Raspberry Pi and a USB sound card with the Ubitx.
- The transmitted signals were decoded with an FT-817.
- On the receiving side I used the above mentioned FT-817, connected to my Laptop with a Wolphilink Audio Interface and attached to a 20m dipole antenna (the self built one, see here) as a reference receiver.
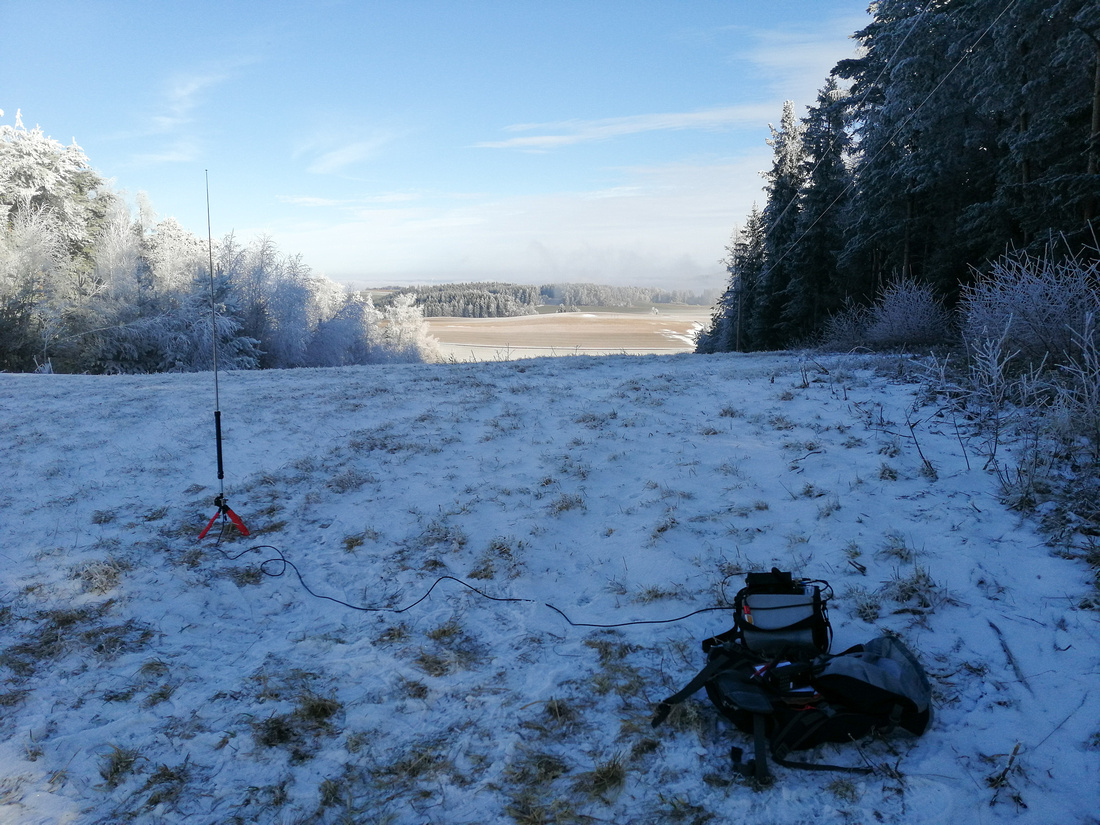
- The Ubitx was connected to a 50 Ohm dummy load and acted as a transmitter.
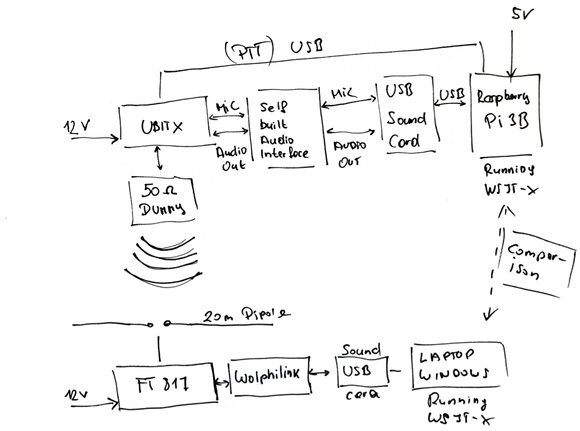
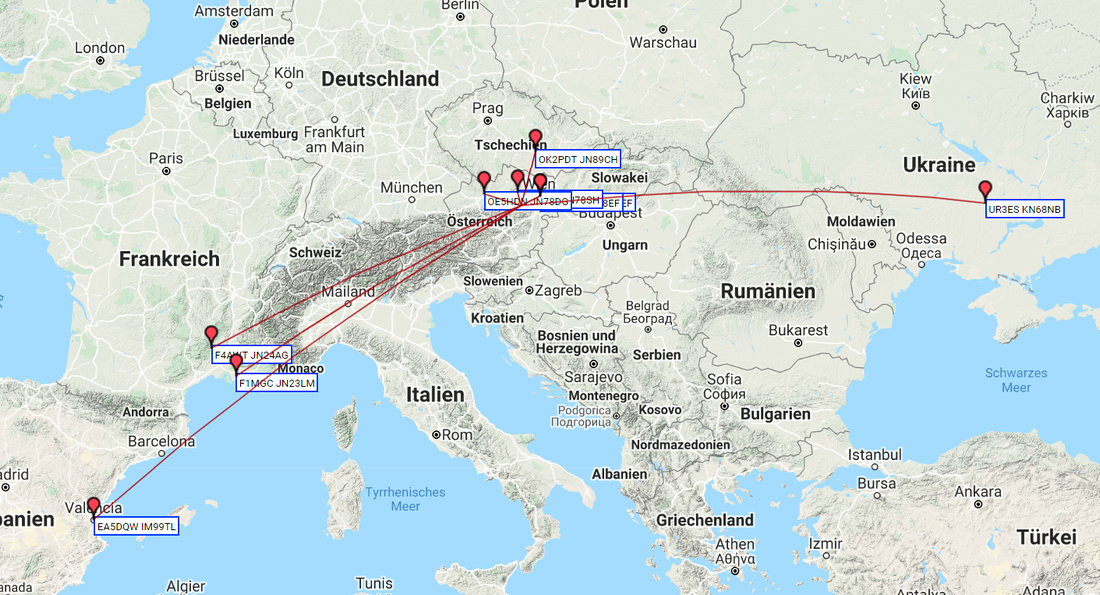
Schema of the test setup
Test assumptions
The assumption for the test has to be that the whole setup on receiver side (FT-817, Audio-Interface, sound card) works correctly. To proof this I tested it by comparing it to yet another station. It received the same FT8 tone frequencies as another high-end Yaesu transceiver from a friend, so it is safe enough to assume that the FT-817 setup works correctly.
Test results
The test results revealed exactly what the waterfall suggested: A shift in frequency. Note that the frequency deviation is different on each band. In the table below you will find the average deviation per band in the yellow column.
The correction values were calculated based on the excellent explanation provided by KD8CEC here.
875000000 (PLLA frequency) / Test Freq * (Measured Freq - Send Freq) = calibration value
Master calibration value = existing value + calibration value
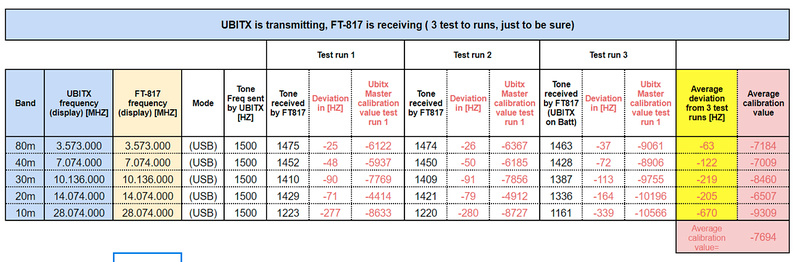
Results from my testing, note the yellow column
I did not find any advice on the internet on how to proceed in case the deviation is different on each band, so I decided to try my own approach: I just average the correction value.
In order to transfer the new master calibration value to the Ubitx I used the Ubitx memory manager, also provided by KD8CEC.
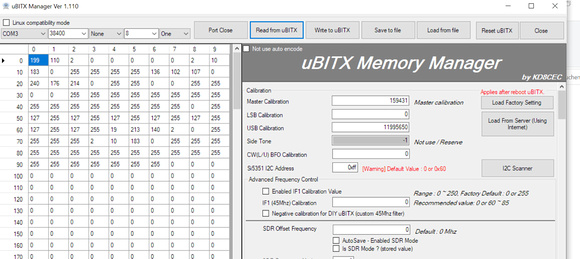
I transferred the new master calibration value to my Ubitx using the uBITX memory manager
After this I re-tested with the same setup as mentioned above. To my own surprise my approach worked quite well:
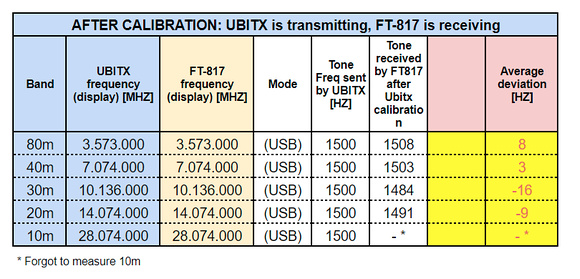
Results after testing, the deviation has been greatly reduced!
As you can see the approach worked quite well. The deviation is greatly reduced and acceptable now. Also the WSPR signals can be decoded now correctly:
WSPR signals can now be decoded.
I hope I could describe my approach clearly enough, if you have any questions please feel free to write me or leave a comment.
73 de Alfred.